
Amiga CD32 MiSTer FPGA Setup (Required Steps)
- Download the Amiga CD32 Pack:
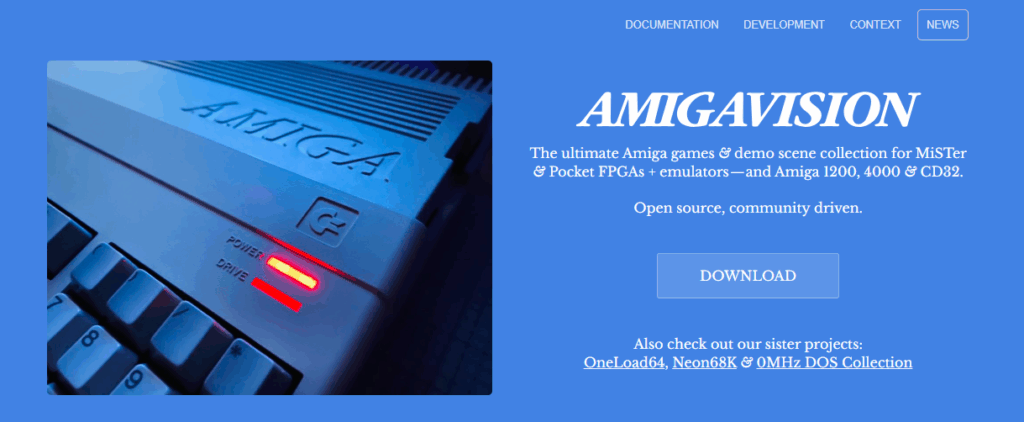
- Go to amiga.vision, click “download now,” and obtain the Amiga CD32 pack (download provides a search and not the content).
- Extract Setup Files:
- Unzip the main archive (then look for the folder titled
!Amiga Vision CD32 setup for mister).
- Unzip the main archive (then look for the folder titled
- Copy Setup Files to MiSTer SD Card:
- (Crucial Note for Upgraders: If you are upgrading and want to keep your save files, navigate to the
games/Amiga CD32folder on your SD card and delete the fileCD32-Saves.hdfbefore copying.) - Select all the files and folders from the extracted setup contents except the file
USB.7z. - Copy the selected contents to the root directory of your MiSTer FPGA’s micro SD card, ensuring you Merge with existing files and Overwrite when prompted.
- (Crucial Note for Upgraders: If you are upgrading and want to keep your save files, navigate to the
- Copy Game Files:
- Select all or some of the CHD disc images (the game files).
- Copy these files into the
games/AmigaCD32folder on your MiSTer SD card.
- Modify the Configuration File:
- Open the file
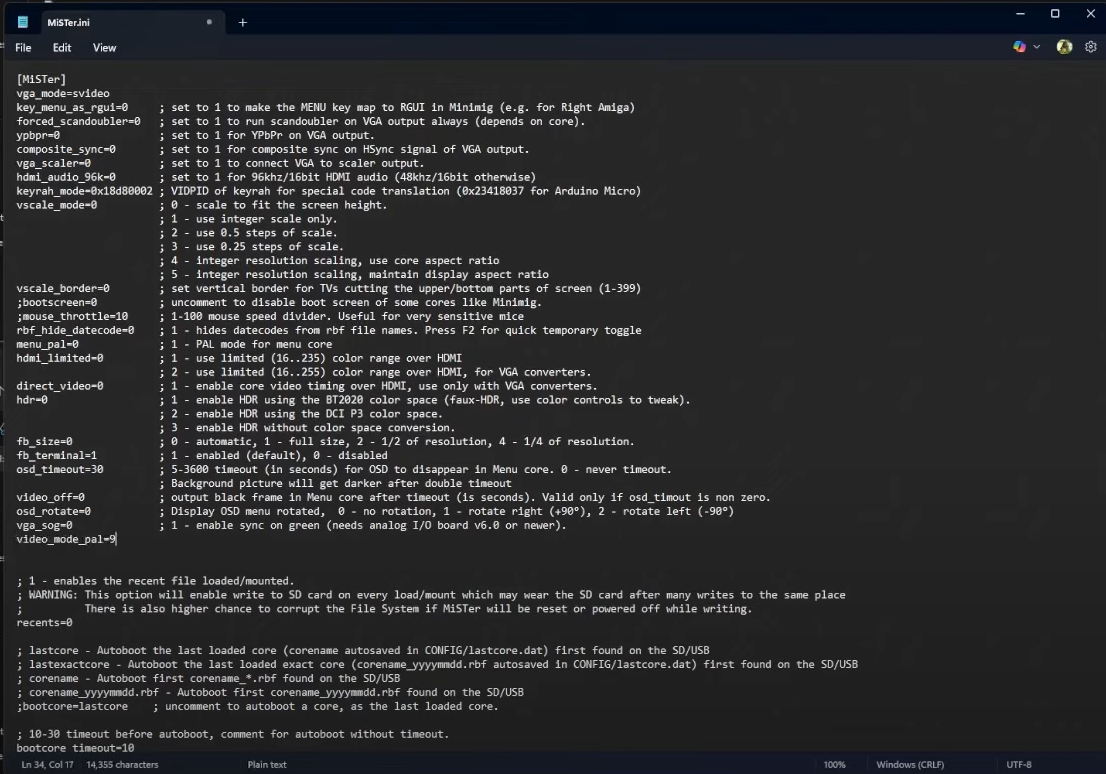
MiSTer.inilocated at the root of your MiSTer SD card. - Under the
[MiSTer]section, add the line:video_mode_pal=9. - Save the changes and close the
MiSTer.inifile. (This setting is necessary for correct PAL video scaling and 50hz output).
- Open the file
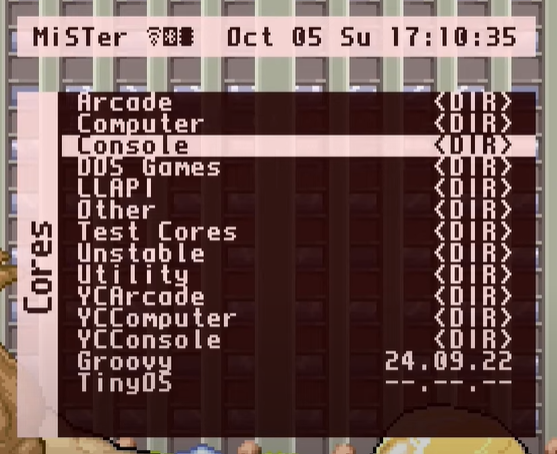
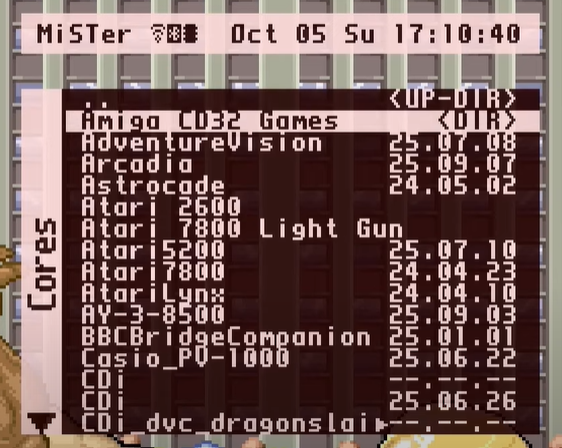
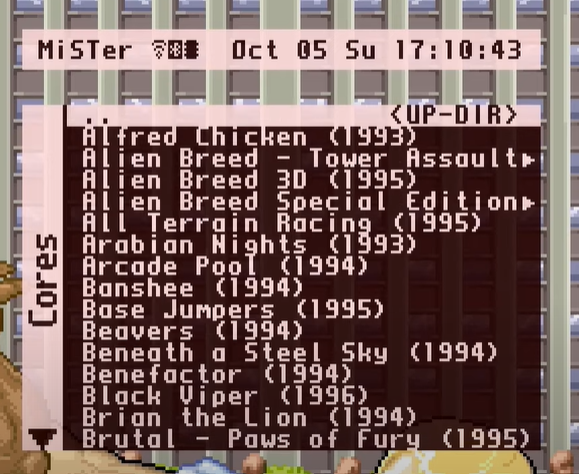
Once complete, games can be launched by navigating to Consoles → Amiga CD32 Games on your MiSTer menu.
Thanks for doing a written tutorial, I always prefer these to youtube.
Really appreciate what you guys are doing here on MGS!
Thanks Marc. Your kind words are appreciated 👍
Yup, couldn’t agree more!
BUT: isn’t there a crucial error? Aren’t you telling people to delete their old saves? removing the saves file _from the SD_ is wrong, no? Shouldn’t you remove it from the downloaded files?
Great guide (I watched the video too), I look forward to doing this when I get my SuperStation One 🙂